
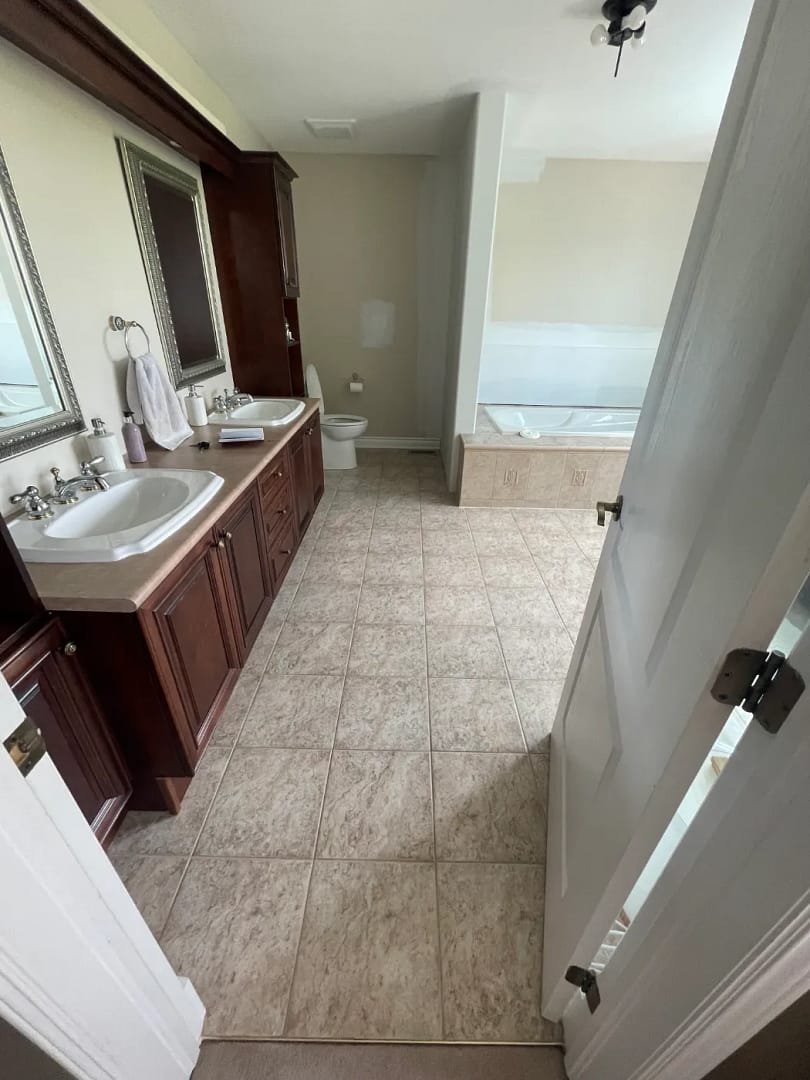
Every week somebody sends me a photo of their bathroom and asks the same thing: do I have to rip this tile out? Usually the tile is not broken. It is just ugly. Beige, speckled, a border of accent pieces somebody loved in 2004, and grout lines that never come fully clean again.
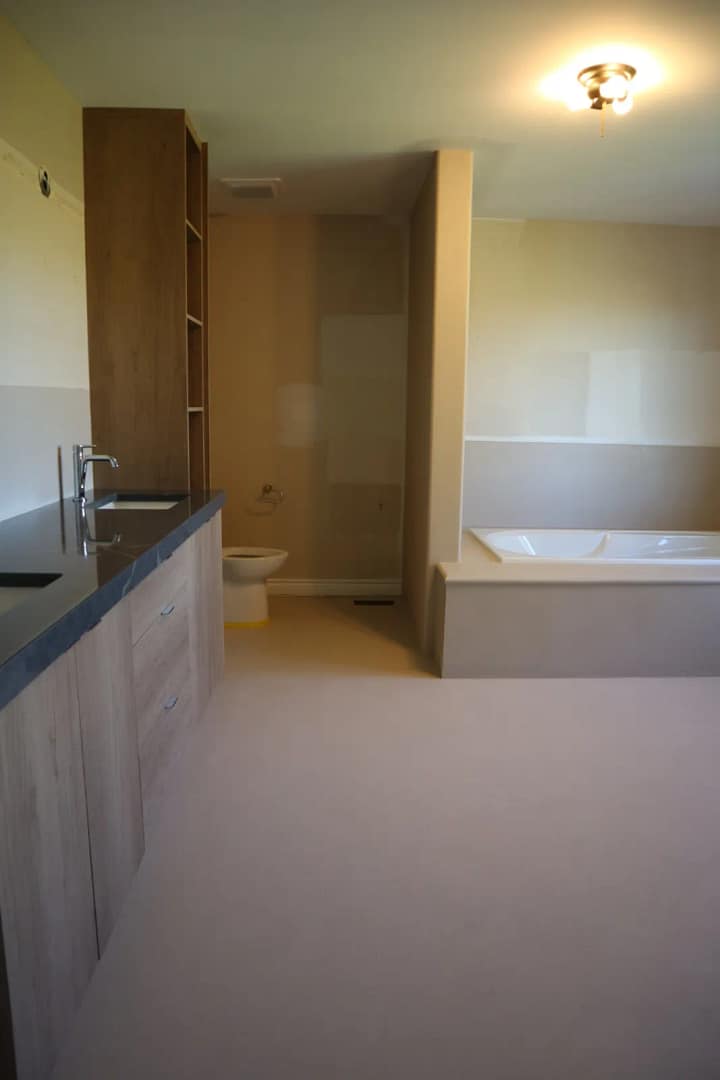
We just finished a master ensuite that is a perfect example of the other option. Nothing came out of that room. The floor, the tub platform and the tub surround are all still tile underneath. What you see now is one smooth, warm microcement surface with no grout at all.
Here is how I think about the decision, using that job as the example.
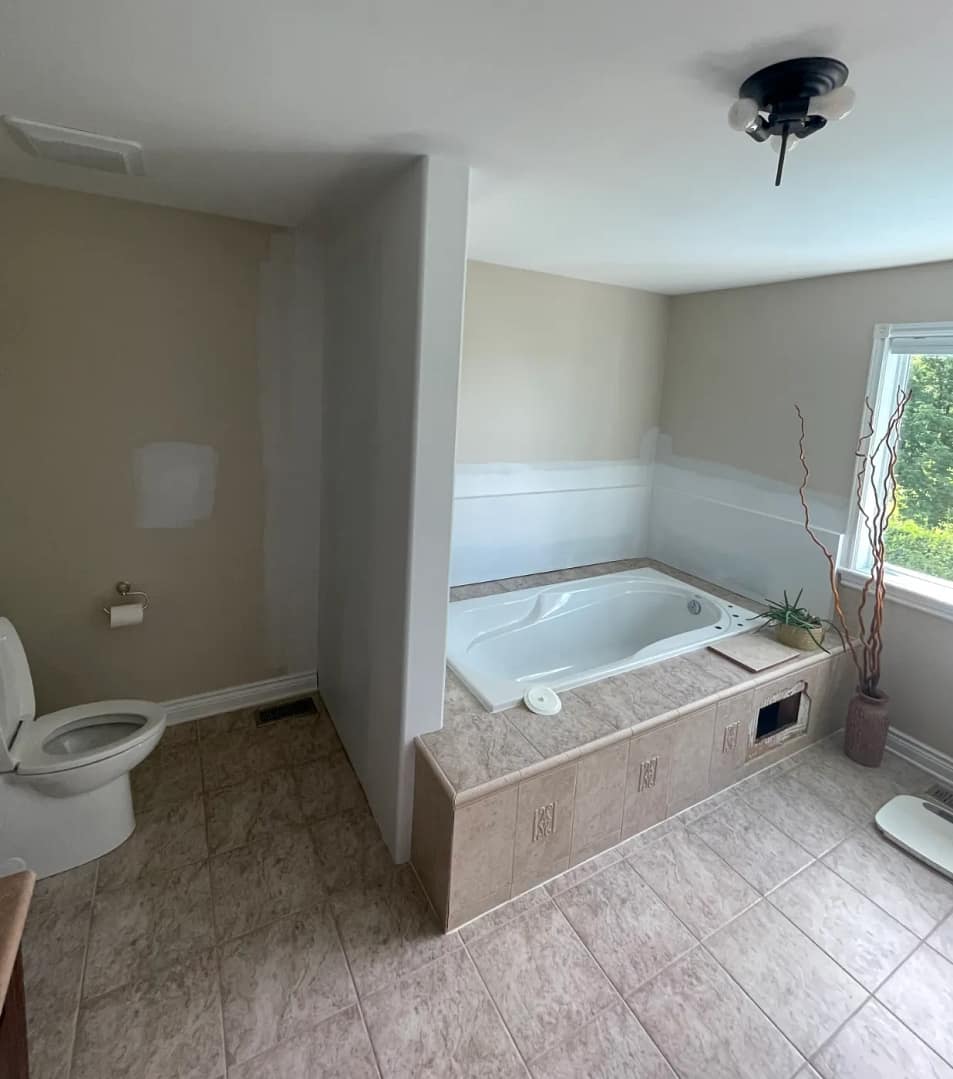
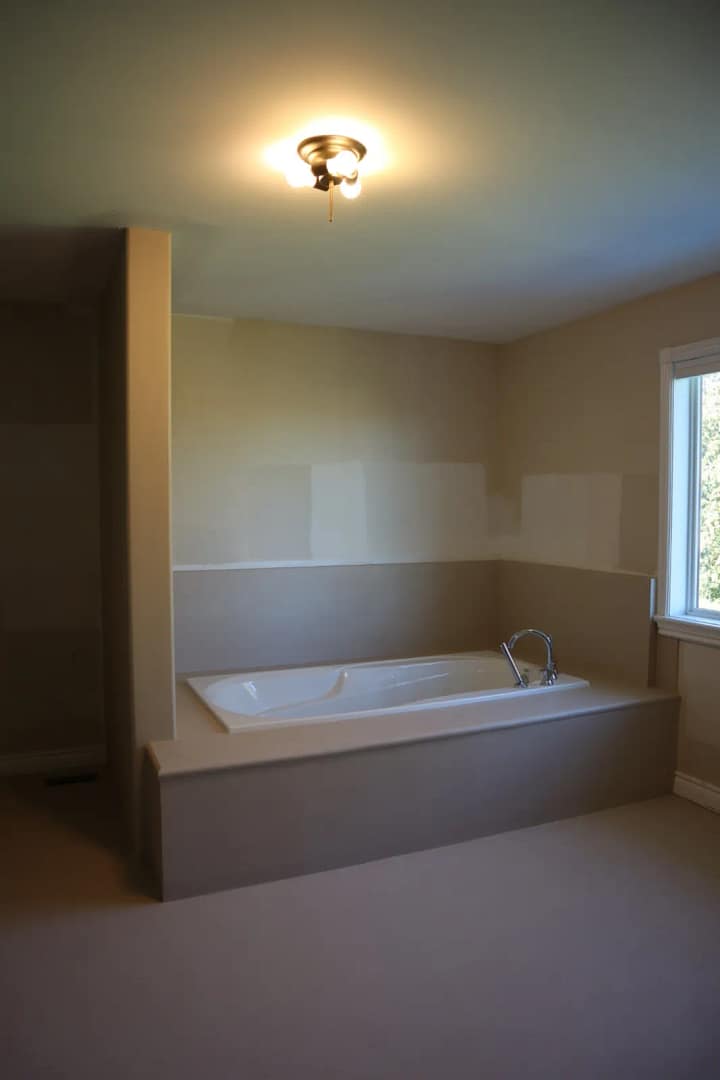
Option 1: Tear it out and retile
This is the default answer most people get, because it is what most renovators know. It means breaking up the floor and the tub deck, bagging the debris, hauling it out, fixing whatever the demo damaged, then waiting for a tiler to come back and set new tile. It is loud, it is dusty, and it often means pulling the tub or at least risking it.
Retiling is the right call when the tile is loose, cracked through, or there is water damage underneath. In that case it has to come out anyway, and we would tell you so.
Option 2: Cover it in microcement
Microcement is a thin cement-based coating, a few millimetres thick, applied by hand with a trowel in several layers and then sealed. When the tile underneath is solid, it becomes the base for the new surface. No demolition, no bin in the driveway, and the tub, the toilet and the doors all stay where they are.
On this ensuite, that meant:
- The whole floor, from the doorway to the tub, finished as one piece with no grout lines
- The tub platform wrapped top, edge and front, with a soft rounded edge where the old bullnose was
- The strip of wall around the tub done in the same warm greige so the whole tub area reads as one built piece
- A colour picked to sit between the owners’ new light wood vanity and its dark stone top

What actually makes it last
I will be straight with you: microcement over tile fails when people skip prep. The coating is thin, so anything wrong underneath shows up eventually. On every job like this we:
- Check every tile for hollow spots and fix anything loose first
- Deep clean and degrease the tile so the new layers bond
- Fill the grout lines flush so they do not show through later
- Embed a reinforcing mesh in the base coats so the finish bridges the old joints
- Build up the layers by hand, sanding between coats
- Seal it with multiple coats made for bathrooms
If a quote for microcement over tile does not mention most of that list, ask questions.
Living with it
A sealed microcement bathroom floor is easy. Wipe it with warm water and a pH-neutral cleaner. Keep bleach, scouring powder and acidic descalers off it. Because it is matte and hand-troweled, it has a slight tooth to it and never feels like polished porcelain on bare feet. Still, keep a rug where you step out of the tub, like you would on any hard floor.
So which one is right for you?
If your tile is solid and you are just tired of looking at it, covering it is usually faster, a lot less messy, and it gives you a look tile cannot: a floor and tub with no seams. If your tile is failing, it comes out first, and we can still finish the new surface in microcement afterwards.
Send me a few photos of your bathroom floor and tub and I will tell you honestly which camp you are in.
Robbie Mansour, Green Time Painting & Design
613-255-1512 · design@greentimepainting.com
More on the finish itself: our microcement page.